


Fix DNS Server Not Responding On Windows 10: A DNS server helps to ease internet browsing in more ways than you may think. All websites on the internet have a unique IP Address, which is made up of complicated digits that are difficult to remember. However, owing to the DNS server, we may navigate to websites using domain names such as google.com rather than IP addresses. DNS servers, in this sense, work similarly to a phone directory, associating domain names of sites with their assigned IP addresses.
The DNS server is an important component of the internet, and if it fails, you will be unable to browse the web. Unfortunately, numerous Windows 10 customers have reported that their DNS server is experiencing an issue. Well, if you receive a “DNS Server Not Responding” error on Windows 10, it might be due to a problem with your ISP’s DNS server or to incorrectly configured system settings on Windows 10. Whatever the case may be, we are here to assist you! Today, we’ll go over a couple of methods for resolving the “DNS Server Not Responding” error on Windows 10. Let’s get this party started.
How To Fix DNS Server Not Responding On Windows 10?
To try and resolve the issue with the DNS server not responding to Windows 10, try the methods listed below.
Set the DNS Server Manually
By default, Windows 10 will use your ISP’s DNS server every time you use your browser to access a website. However, it is conceivable that your default DNS server is currently unavailable. Other DNS servers, such as Open DNS and Google’s own DNS server, are available in this case.
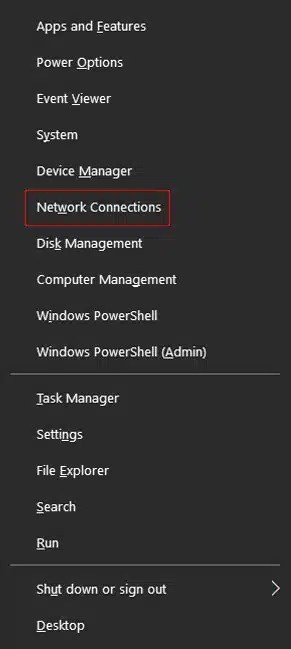
- To open the Quick Access Menu, press and hold the Windows key + X on your keyboard.
- Then, click Network Connections.

- Click Change Adapter Options inside Network Connection Status.
- Right-click the current Network Adapter and select Properties.
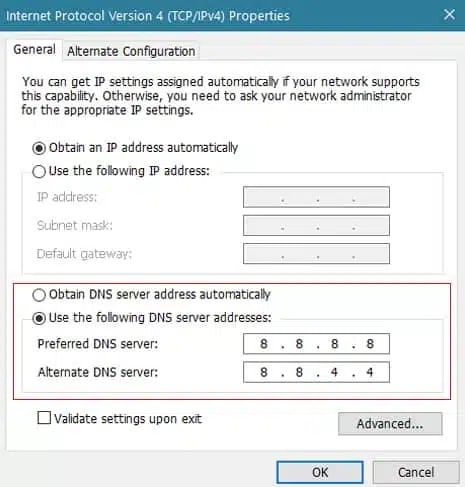
- In the pop-up box, double-click on Internet Protocol Version 4 (TCP/IPv4).
- Click ‘Use the Following DNS Server Addresses’ and enter the values.
Primary DNS Server: 8.8.8.8
Alternate DNS Server: 8.8.4.4

Once finished, click OK to save the changes and return to your browser. Try to access a couple of DNS sites to see whether the “DNS Server Not Responding” error has been fixed.
Manually Setup Mac Address
Well, the “DNS Server Not Responding” error was fixed for certain Windows 10 users by simply adding their Mac Address in the network adapter’s settings. Follow the step-by-step guide below to do this.
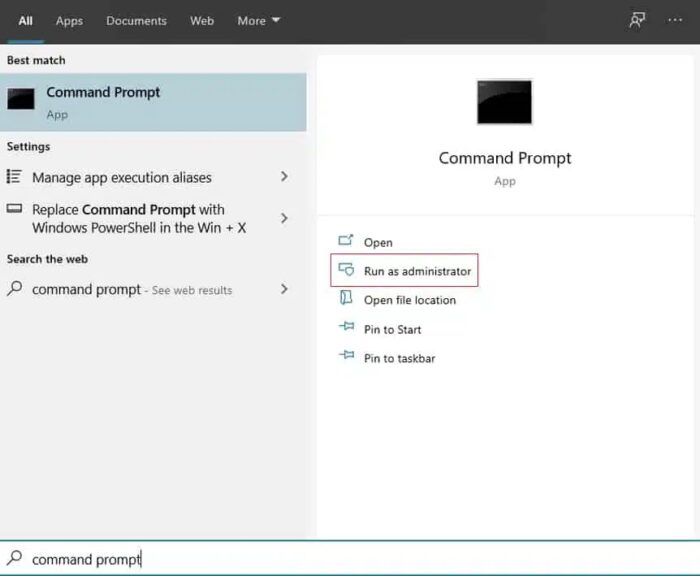
- First, on your keyboard, press and hold the Windows key + S and look for ‘Command Prompt.’
- To open CMD, click Run As Administrator.

- Type ipconfig /all and hit Enter to launch the Command Prompt.
- Locate the current Network Adapter you’re using and record its Physical Address. (In our case, it’s a Wi-Fi Wireless LAN Adapter.)
- Then, on your keyboard, press Windows + S and search for ‘View Network Connections,’ hit Enter.
- Right-click on your current Network Adapter under Network Connections and select Properties.
- Click Configure in the Properties window.
- Go to the Advanced tab, click Network Address, and enter the Physical Address you copied.
- To save the changes, ensure the radio button is set to Value and hit the OK button.
To test if the problem with your DNS server on Windows 10 has already been resolved, go back to your browser and try to browse the internet. Proceed to the next method below to resolve the problem if you continue to see the “DNS Server Not Responding” error on the browser.
Reinstall Network Drivers
A malfunctioning or outdated driver might be the source of network connection troubles. If you’re still getting the DNS server error, try reinstalling your network drivers to solve the problem. Also, you can follow the instructions below to guide yourself through the process of reinstalling your network drivers.
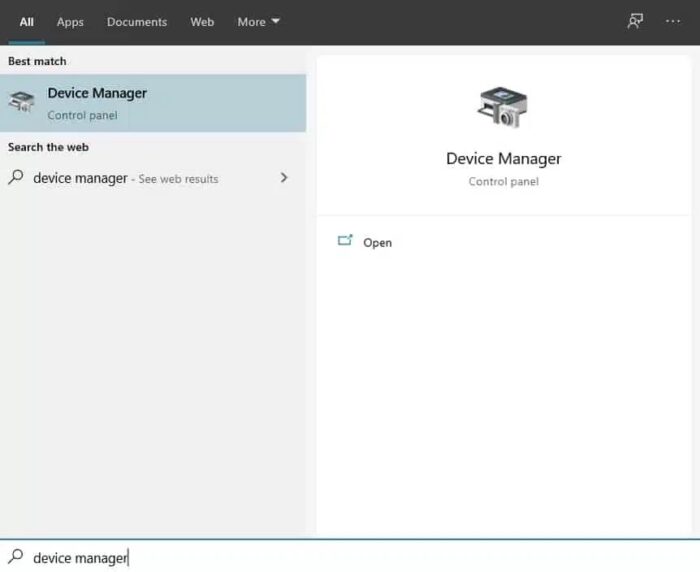
- Search for “Device Manager” on your computer by using the Windows key + S.
- Then click the Open button.

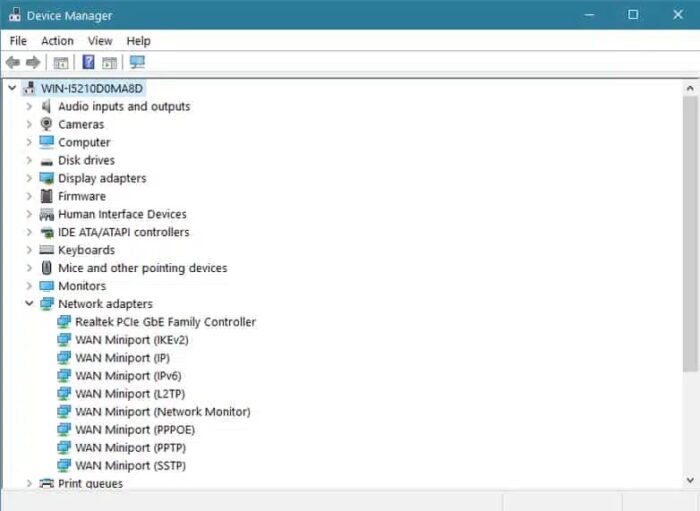
- Click Network Adapters under the Device Manager.
- Right-click the present Network Adapter and select Uninstall Device.
- Finally, select the ‘Delete the Driver Software’ option, then hit the Uninstall button.
After deleting your network drivers, restart Windows 10, and it will install the correct drivers for your device automatically. To check if the DNS issue with your Windows 10 server has already been fixed, open your browser and attempt to access a website.
Clear DNS Cache
DNS cache is temporary data about DNS lookups kept on Windows 10 that helps browsers load previously visited sites faster. However, these caches can get damaged at times, resulting in the “DNS Server Not Responding” problem. To remedy this, clean your DNS cache on Windows 10 to eliminate damaged data.
- To open CMD, use Windows key + S and search for ‘Command Prompt,’ then click ‘Run as Administrator.’
- Inside the Command Prompt, type ipconfig followed by the following commands, one by one, and hit Enter.
/flushdns

/registerdns

/release

/renew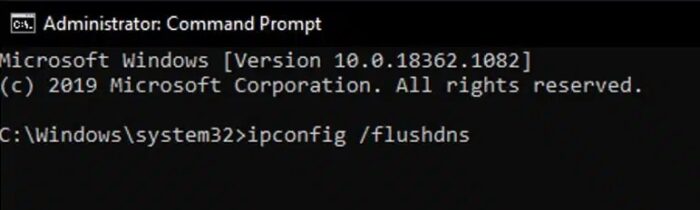

- After that, restart your computer.
Now, launch your browser and try to access a couple of websites to determine if the issue with your DNS server has been resolved after emptying your DNS cache.
Restart Router
Because you are using your ISP’s default DNS server, it is conceivable that your router is experiencing connectivity problems with your internet service provider. Try resetting your internet router to re-establish a solid connection with your ISP. Locate your router’s power cord, which is usually located at the back. Remove the power wire from your router to turn it off. Please wait a few seconds before reinserting your router’s power cord to turn it back on. Open your browser once more and try to access alternative DNS sites to see if the “DNS Server Not Responding” error message still appears.
Disable Internet Protocol Version 6 (IPv6)
Well, Internet Protocol Version 6 is the most recent version of the Internet Protocol and performs quicker than IPv4. However, most users continue to use IPv4 as their primary Internet Protocol. In certain circumstances, IPv6 might interfere with IPv4 rather than boosting its speed. As a result, your network connection becomes unreliable. To fix the “DNS Server Not Responding” issue, disable IPv6 on Windows.
- To open the Quick Access Menu on your keyboard, hit Windows key + X.
- Then, click Network Connections.
- Following that, click Change Adapter Options.
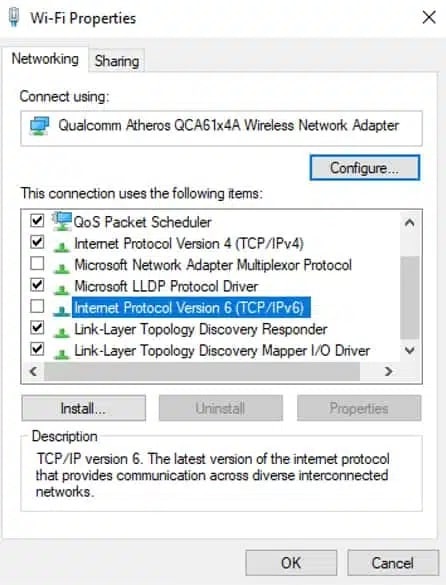
- Right-click the current Network Adapter and select Properties.
- Ultimately, uncheck Internet Protocol Version 6 and click OK to save your changes.

After that, restart your computer and try to access the internet again to see whether the problem with your DNS server has been fixed. However, if you are still having problems with your network connection, you can move to the next method below to resolve the issue.
Turn Off Microsoft Virtual Wi-Fi Adapter
The Microsoft Virtual Wi-Fi Adapter is another source of DNS server problems on your system. If you have this installed on your device manager, be sure to delete it to resolve “DNS Server Not Responding” on Windows 10. See the guide below for instructions on how to disable the virtual adapter.
- Press the Windows key + S to search for Device Manager on your computer.
- Then, click Open.
- Click Network Adapters under the Device Manager.

- Now, right-click Microsoft Virtual Wi-Fi Miniport Adapter and pick Disable Device from the menu that appears.
- Finally, a pop-up will appear to confirm the action; click Yes to proceed.
To check if the problem with the DNS server on Windows 10 has already been resolved, restart Windows 10 and then try to access the internet.
Disable Unused Adapters
If you have many network adapters but only use one, you may disable the others to minimize system conflict. Follow the steps below to guide you through the process of disabling unnecessary network adapters on Windows 10.
- To begin, open the Quick Access Menu by pressing the Windows key + X on your keyboard.
- Then, click Network Connections.
- Click Change Adapter Options in the Network Connections window.
- Finally, right-click on the Network Adapter that isn’t in use and select Disable.
Now, go back to the browser and try to access a few websites to determine whether the “DNS Server Not Responding” issue on Windows 10 has been resolved.
Update Windows 10
Network connection difficulties, such as DNS server errors, may also be linked to Windows in general. The Windows 10 current version installed on your system may have a flaw or error connected to DNS settings, causing the problem on your computer. In this case, Microsoft may have provided an update to address the issue on Windows 10. Follow the guide below to check for Windows updates.
- To open Windows Settings, press the Windows key + I on your computer.
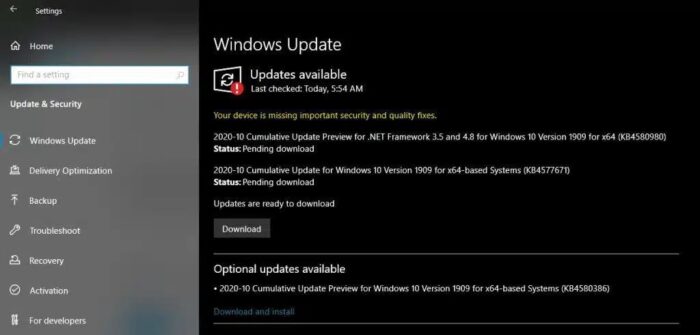
- Click Update & Security in the Windows Settings menu.
- Finally, from the side menu, click the Windows Update tab. This will cause your system to check for any available updates automatically. To download and install the update on your computer, follow the on-screen instructions.

After installing Windows 10, restart your computer and use your browser to try to access various sites to determine whether the DNS server issue was resolved by updating your operating system.
Execute Netsh Command
Netsh is a Windows sophisticated scripting program that allows you to customize your system’s network setup. Also, the “DNS Server Not Responding” issue on Windows 10 might be resolved by running this on your computer. Check out the guide below for instructions on how to use the Netsh scripting utility from the command prompt.
- To begin, open Command Prompt with administrator access on your computer.
- Once the Command Prompt has been launched, type the following commands one at a time, then hit Enter.
netsh init ip reset

netsh winsock reset

ipconfig /flushdns

ipconfig /renew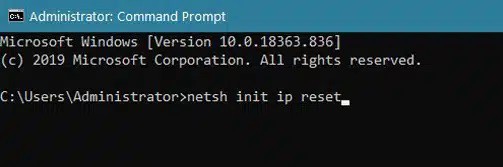

- Restart your computer after doing the above commands.
Now, open the browser and try to access different DNS sites to ensure that the issue with “DNS Server Not Responding” is already resolved.
Use Another Browser
Well, the “DNS Server Not Responding” error in Windows 10 can also be isolated to a single browser. The browser you’re using right now is experiencing an issue that prevents you from being able to browse the internet. In this case, you can use various internet browsers such as Chrome, Firefox, Opera, and Microsoft Edge to discover if the issue is isolated to a particular browser. In the meantime, try alternative browsers first and periodically check to see if your favored browser is still operational.
Disable Windows Defender Firewall
In rare situations, the Windows Firewall will interfere with your browser and prevent it from accessing your internet connection. Try disabling your firewall to check if the “DNS Server Not Responding” issue gets fixed.
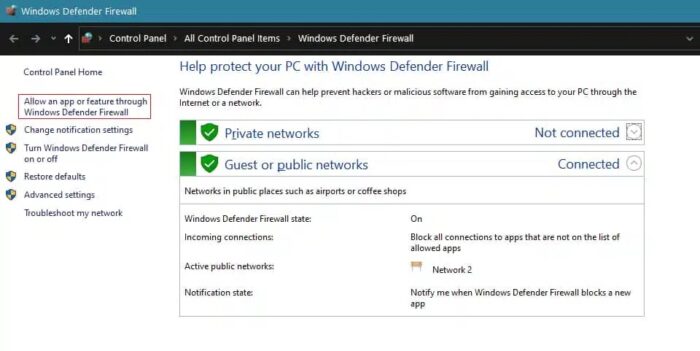
- Press the Windows key + S to launch the Windows Defender Firewall search on your computer.
- Then click the Open button.


- Click the ‘Turn Windows Defender Firewall On or Off’ option on the side menu of Windows Defender Firewall.
- Finally, select the ‘Turn Off Windows Defender Firewall’ option for private and public networks and hit the OK button to save the changes.
You may also add your browser to the whitelist to prevent Windows Firewall from blocking it from accessing your internet connection.
- Click “Allow an App or Feature Through Windows Defender Firewall” on the Windows Defender Firewall menu.

- Then, from the list of applications, locate your browser and ensure that it is marked checked.
- Finally, click OK to save your changes.
Restart the computer and try to browse the internet to see whether the “DNS Server Not Responding” problem has been resolved.